Have you ever wanted a how to guide for a DIY hot air balloon? Well you’re in luck! This is a guide to put together a 6.5 ft DIY hot air balloon that would be the perfect centerpiece for an “Up, Up, and Away” themed birthday party, nursery, or baby shower. This is not meant to be a small table centerpiece so strap in boys and girls! The DIY hot air balloon mentioned here will be an attention grabber you can place in the foyer. It can also stand next to a balloon arch as a photo prop! This DIY hot air balloon will be plenty sturdy, reusable, and beginner-friendly.
Here are the supplies you’ll need (with links and more details):
- Any Basket between 13 to 16 in wide and 18 to 20 in tall would work – I recommend using a sturdy round basket for the DIY hot air balloon basket to complement the shape of the lantern while supporting the dowel rods. I bought the two pack (linked) and ended up using the larger size (13 in x 18 in) but you CAN go a bit larger.
- 16 in Large metal hoop
- 12 in Medium metal hoop
- 10 yards of 1 in Burlap ribbon
- (3x) .5 in x 48 in Dowel rods – this was what I used but it was a bit longer than I expected. You can go with the .5 in x 36 in dowel rod as well. It depends on the height you’d prefer for your DIY hot air balloon.
- 2 mm 150 ft Twine – it’s a must to wrap the dowel rods in the twine. I considered skipping this step initially but it just adds so much polish to the overall DIY hot air balloon centerpiece. So I highly recommend!
- 30 in Jumbo round lantern
- 120 ml Silvery/White metallic acrylic paint
- 120 ml Sapphire Blue metallic acrylic paint
- 1 in foam brush
- Hanging decorations clouds
- Hanging decorations orange fans
- Hot glue gun – I got a wireless one so I could work from any angle I wanted without needing to deal with cord or cord length.
- Mini glue sticks – make sure they’re the right size for your hot glue gun.
Here are the steps I used for my Up, Up, and Away themed centerpiece:
- First, stick a dowel rod in the basket and measure where the visible area on the rod starts. This is so you don’t have to wrap twine around the entire stick. Then assemble the 3 twine covered dowel rods. Wrap the twine around each dowel rod tightly and apply hot glue as needed to hold the twine in place.
- Next, secure the dowel rods to the inside of the basket. I just used twine to tie the rods to the top rim of the hot air balloon basket.
- Then, secure the largest hoop to the top of the basket with twine.
- Once that is done, you can secure the medium hoop to the middle of the basket with twine.
- Now it’s time to paint the lantern! I mixed the silver and blue paints to get the shade of blue I wanted and you can use any colors you want.
- Then I outlined the areas that would be covered in blue paint to ensure the areas covered in paint would be symmetrical and even.
- Once that was complete, I gently painted all the areas outlined. The lantern is fragile so make sure you don’t use too much force and rip the paper.
- After the paint is dry, you can hot glue the burlap to cover the outline left by the blue paint.
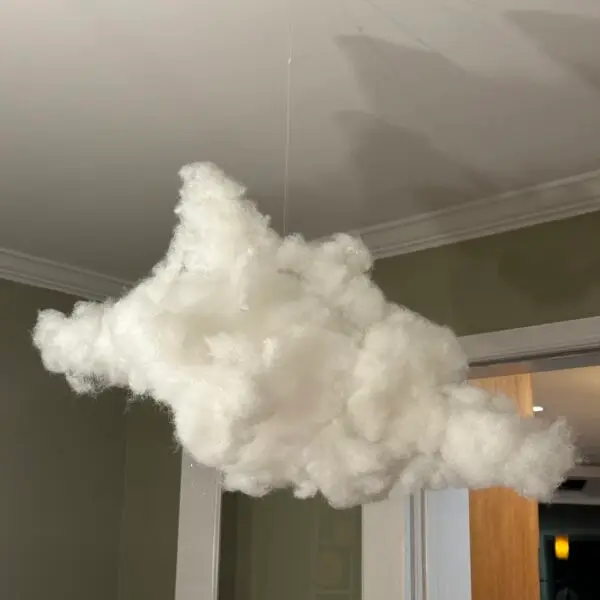
- Finally, it’s time for the finishing touches! Feel free to hang paper airplanes, origami cranes, or the clouds, and fans linked above to dangle from the metal hoops.
Finished Product:
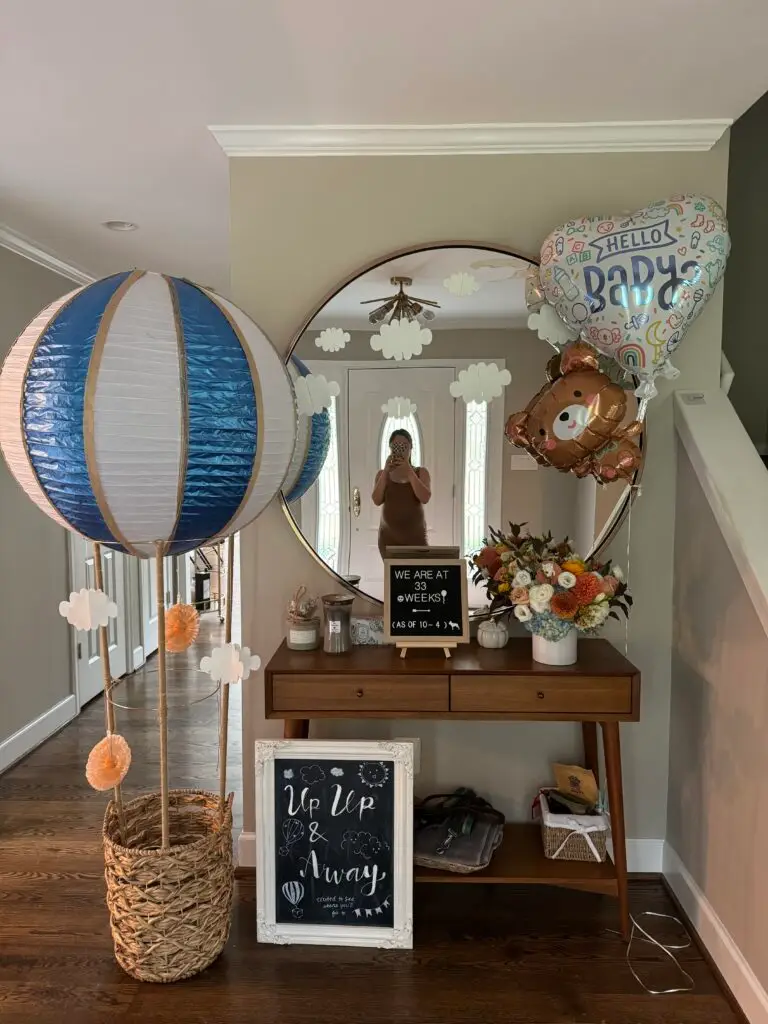
General advice:
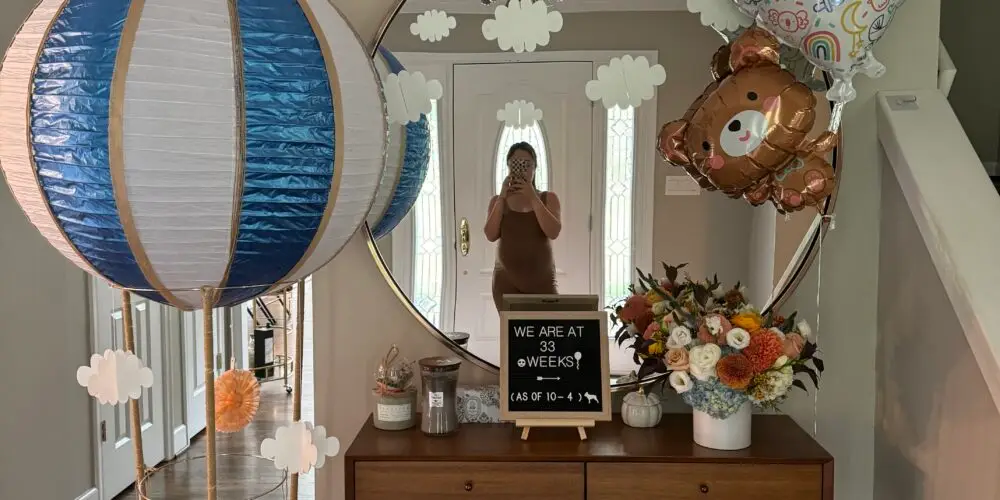
You have so much freedom to mix and match paint colors, baskets, dowel rod height, even the burlap trim used for the Hot Air Balloon centerpiece. This is such a versatile prop and once you’re done with the event, you can even use it to store things like blankets and stuffies. Have fun!



Leave a Reply